(2 votes, average: 5.00 out of 5)
After installing the Cisco WebEx Meetings Server (CWMS), the time came for integration with Microsoft Active Directory Federation Services (ADFS). The MS-Windows administrator for our company installed ADFS 2.0 on an internal server and we issued a single certificate from our certificate authority to it. We used that same certificate for all three roles — service communications, Token-decrypting and Token-signing. The next part was to connect CWMS to ADFS for single-signon (SSO) using the Security Assertion Markup Language (SAML). Now, the real work and confusion set in — and I am not just talking about understanding all of the new set of acronyms. Neither Cisco or Microsoft really explain how this all works in a clear way and unless you are going to dig deep into ADFS/SSO/SAML the solution is pretty tough to come by.Well, I started just like most people in my work — Google. If you can get the right queries going, you can learn a lot. Lucky for me, I came across a lot of articles that tried to explain things:
- Cisco TroubleShooting for SSO – even though the manuals do not say anything, this guide gives some insights to the config
- Cisco TroubleShooting for User Management — again, some insights that help lead the way
- Mr What? — some useful links if you can navigate through them
So, I plodded through everything and could finally get CWMS to take me over to the ADFS system, but that was it. Nothing. Finally, I came across an article that said the problem was probably due to a security issue with the private key. They were absolutely correct. We had a domain account running the ADFS service and that account was not granted read permission on the private key. So, I crossed my first hurdle. There were still holes in all of the URLs that I pieced together, but it was looking promising. Finally, I had my Eureka! moment. I found the article that showed a lot of promise. It was written by Nick Mueller at CDW. He works in their professional services organization as a video and TelePresence technical architect. This outlined the basic design and architecture that I had already built and he clearly had things figured out.
Lucky for us, we have a relationship with CDW as they are our Microsoft partner for our Enterprise Agreement. As such, we have training and professional services vouchers as part of that program, so we reached out to CDW to see if we could speak with Nick. Very quickly, we were in touch with Nick on the phone and even though we had not arranged any service agreement yet, he was more than willing to walk me through the entire setup and get me going. As of right now, we have SSO working and new user accounts are being created in CWMS with updates.
So, with Nick’s permission, I want to share the configuration steps we took to get the environment built.
Export the token-signing certificate from your ADFS server without the private key. Even, though some documentation says they want this in the DER encoded binary format, what worked for use was the base-64 encoded format.
Import the token-signing certificate into CWMS. Go to Settings->Security->Certificates and under “SSO IdP Certificate”, click Import Certificate and get the certificate that you exported above.
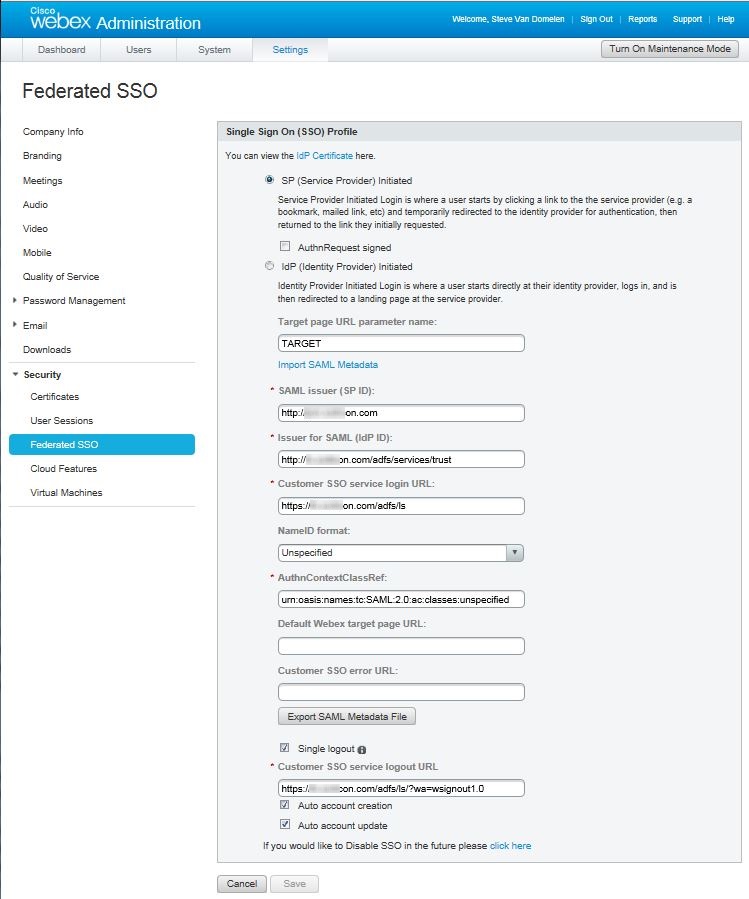
Configure Federated SSO. Go to Settings->Security->Federated SSO and set the values as shown here.
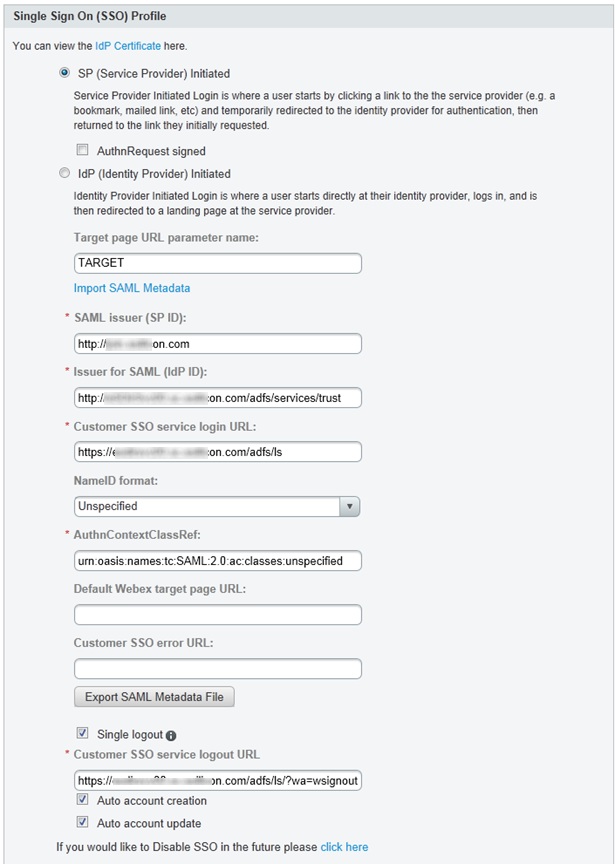 I blurred out some of the domain name information, so let me explain exactly what is being entered in each field:
- SAML issuer (SP ID): In this field, enter the DNS name of your Internet Reverse Proxy (IRP) virtual IP (VIP) address. Yeah, more acronyms and this is http and not https.
- Issuer for SAML (IdP ID): This is your ADFS server. Again, this is http and not https.
- Customer SSO service login URL: This is your ADFS server and note that this IS https and not http.
- Customer SSO service logout URL: This is your ADDS server and this is https. Note that this is https://<your ADFS>/adfs/ls/?wa=wsignout1.0 (it is slightly cut off in the image).
Export the SAML Metadata File. Save this file to your local computer and save these settings.
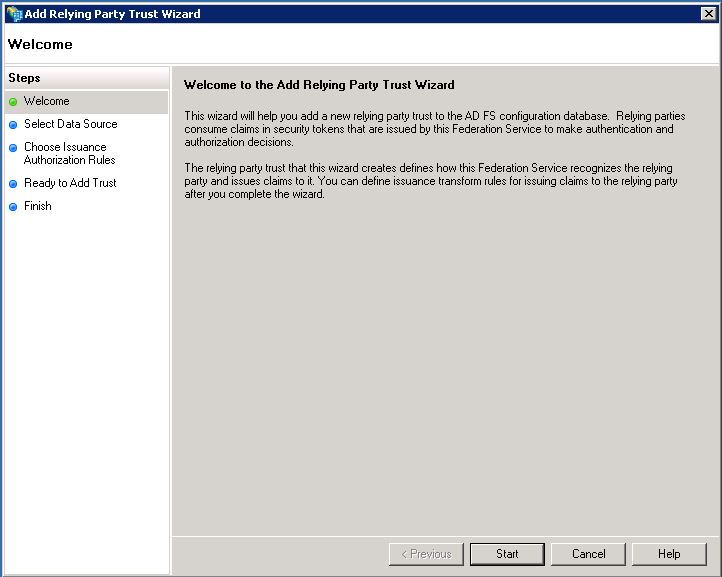
Create the relaying party trust (RP). In order, for ADFS to work, it must be told about the relaying party which in this case is CWMS. From the ADFS server, navigate to Trust Relationships->Relying Party Trusts. On the right-had side, click on “Add Relying Party Trust…”. This will open a dialog box titled “Add Relying Party Trust Wizard”, and click on “Start”.
Next, click on “Import data about the relying party from a file. This is where you select the SAML Metadata file that you exported from CWMS and click Next. The display name can be anything you want, I chose “CWMS”. 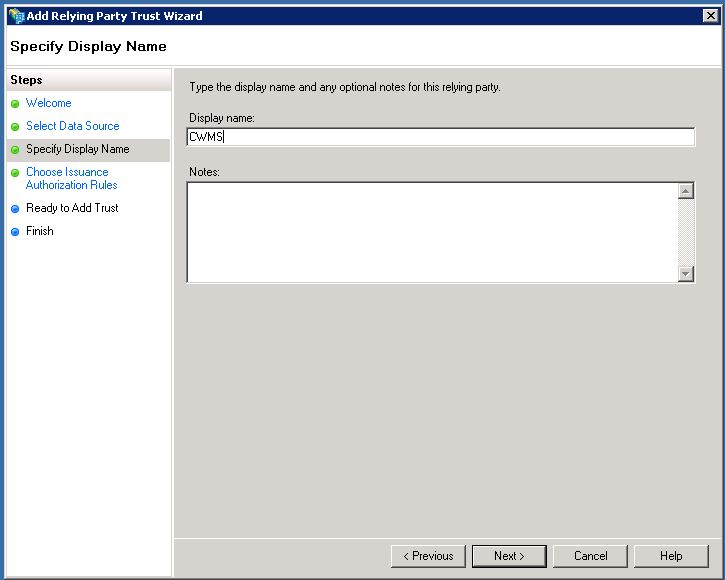
At this point, you get the option of selecting who has access to this relying party. We allow anyone in the domain to be added, but you could tighten that by selecting a certain group of users. This can also be modified at any time later. Now, you are ready to add the trust, so just click on Next.

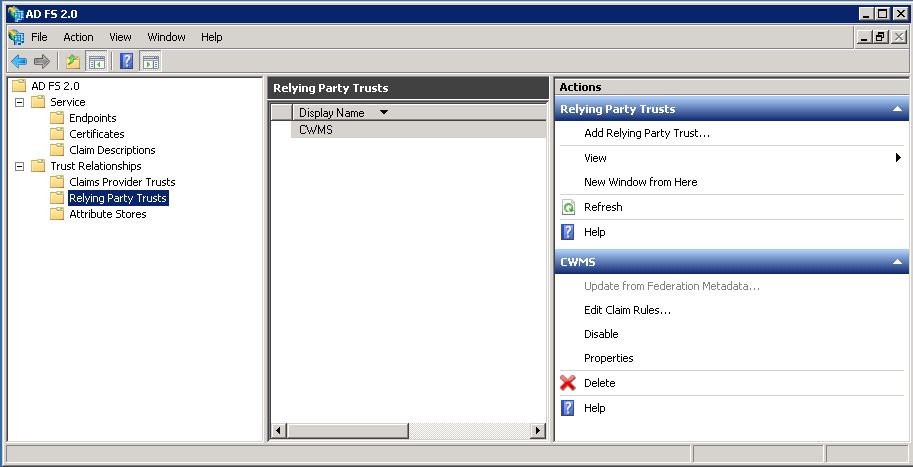
Now that we have constructed the trust, we have to make some modifications/changes to get it working with CWMS. So, double-click on the newly created CWMS relying party trust or click on the properties link in the right side of the Actions toolbar.
Click on the Endpoints tab and then click on “Add…”.
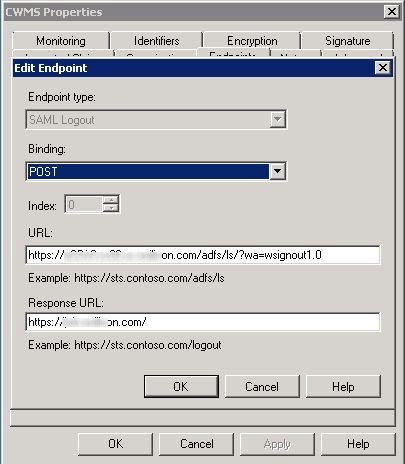
Copy the Customer SSO service logout URL from CWMS to the URL field, and then copy the SAML issuer (SP ID) from CWMS to the Response URL field and click OK.
Next, click on the “Edit Claim Rules…” from the Actions tab in ADFS. Here you will need to build three claim rules.
Click Add Rule and select “Send LDAP Attributes as Claims”. When entering the LDAP Attribute and Outgoing Claim Type values, type these by hand, not from the dropdown lists and click on Finish
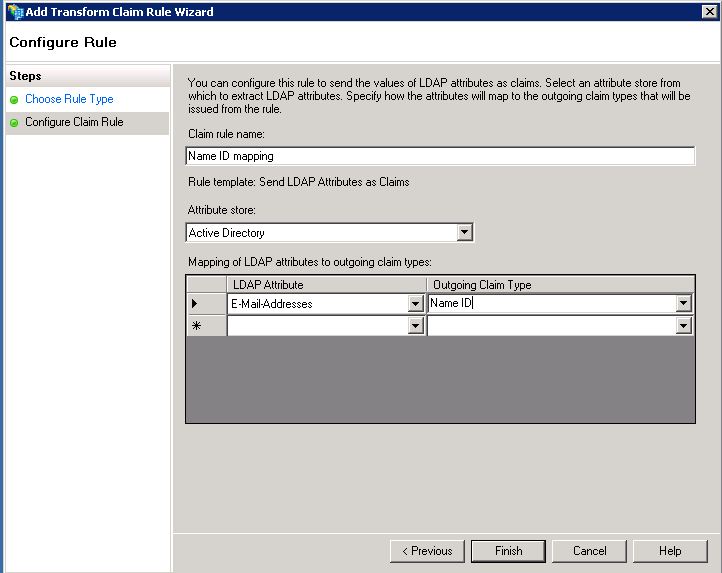
Click on Add Rule again and select “Send LDAP Attributes as Claims”. Note that these two claims CANNOT be combined. They are separate claims and must be entered separately.

For the third claim, you need to create a custom rule. This is to auto-update user information. Click on Add Rule again and select “Send Claims Using a Custom Rule”.

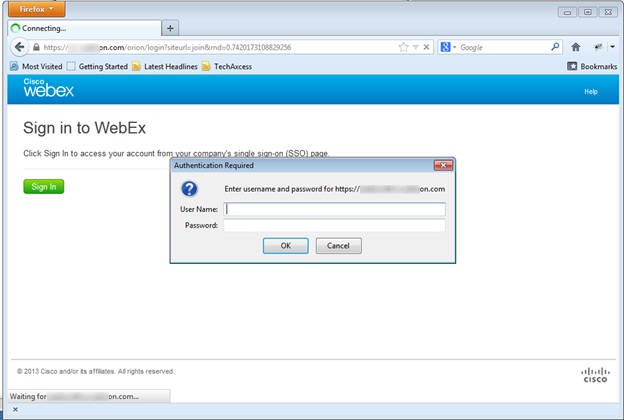
There you have it. At this point, you should be able to bring up your CWMS site. Click on t he “Sign In” button and you will be prompted for your username and password, enter your Windows credentials (domain name is not required) and press OK. You should be directed back to the CWMS site and ready to configure CWMS for your account and start hosting meetings.